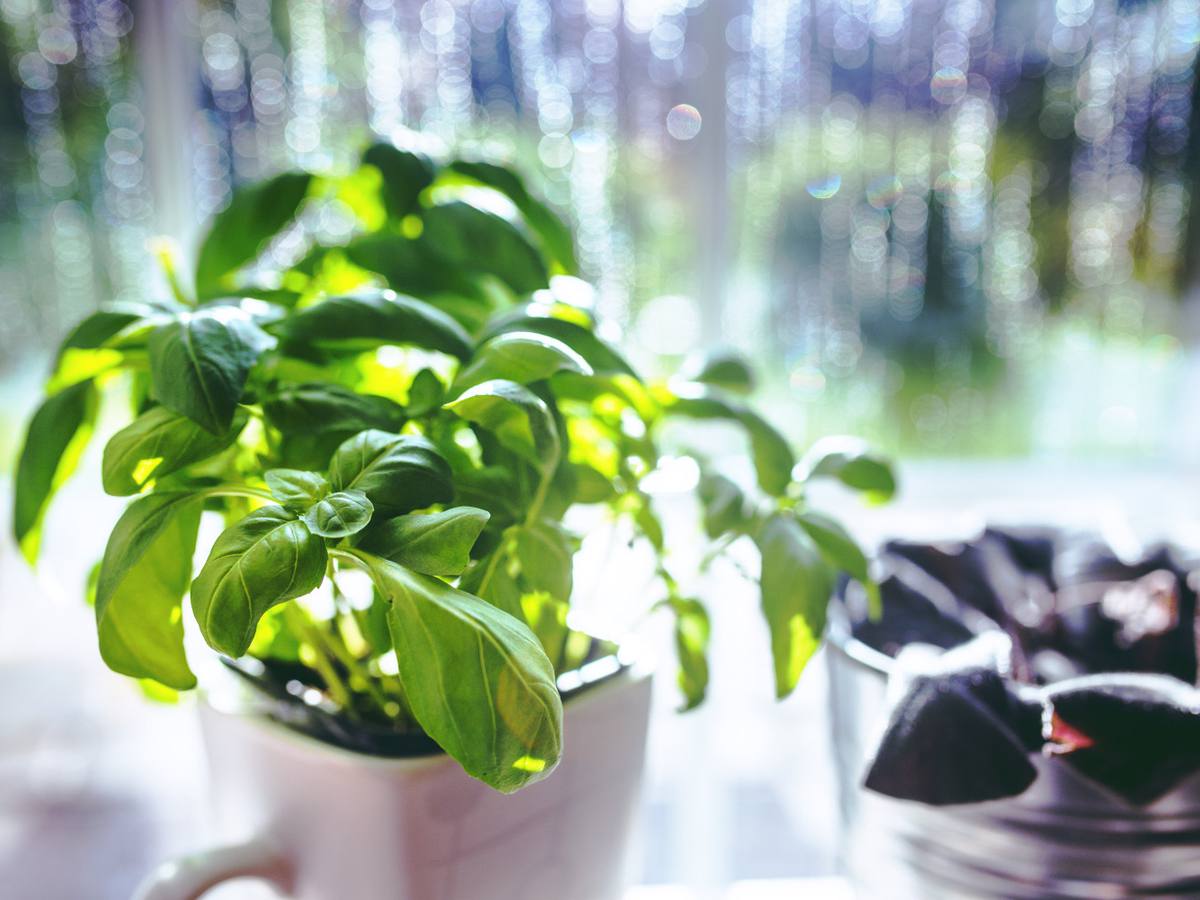
So you’ve nurtured and grown your herb garden to be healthy and bountiful. The next step is to harvest and dry them so that they are ready to be used. Prepare to have your home and then your dishes be filled with naturally wonderful aromas through proper and effective harvesting and preservation.
Harvesting
The goal is to harvest your herbs when the flavors and aromas are at its peak. This can mean different things for different kinds of plants:
- For herbs that you are harvesting for leaves, you need to harvest them just before they flower. The flowers typically give the leaves an off-flavor, so it’s important to avoid that. Leaf production is also reduced after flowering, since more of the resources of the plant is going towards the flower.
- For herbs that you are harvesting for seeds, grab the pods just as they change their color, typically from green to brown or gray. You need to harvest seed pods before they shatter and open.
- For herbs that you are harvesting for roots, the best time of year to harvest is in fall. Wait for the foliage to fade, and harvest them before winter sets in.
The best time of day to harvest your herbs, once they are ready, is late in the morning. Wait until the dew dries, and then harvest them quickly before the heat of the day sets in. Make sure you are using sharp pruning shears or knives; clean cuts heal faster, preventing infection. Do not remove more than 75% of the plant at one time.
Preparation for Drying
Look over the herbs you’ve picked. Remove any dead or damaged foliage. You only want the best parts of the herb to be preserved. Try not to wet the herbs if possible. Only rinse them in cold water if there is dust and dirt on them that you can’t shake off. If you do rinse some of the herbs, be diligent in carefully shaking off the water and then spreading them out on dishcloths so that the water can be drained and soaked off of the herbs in a timely manner. Turn them over a couple of times as you check on them. They will need to be completely dry before proceeding.
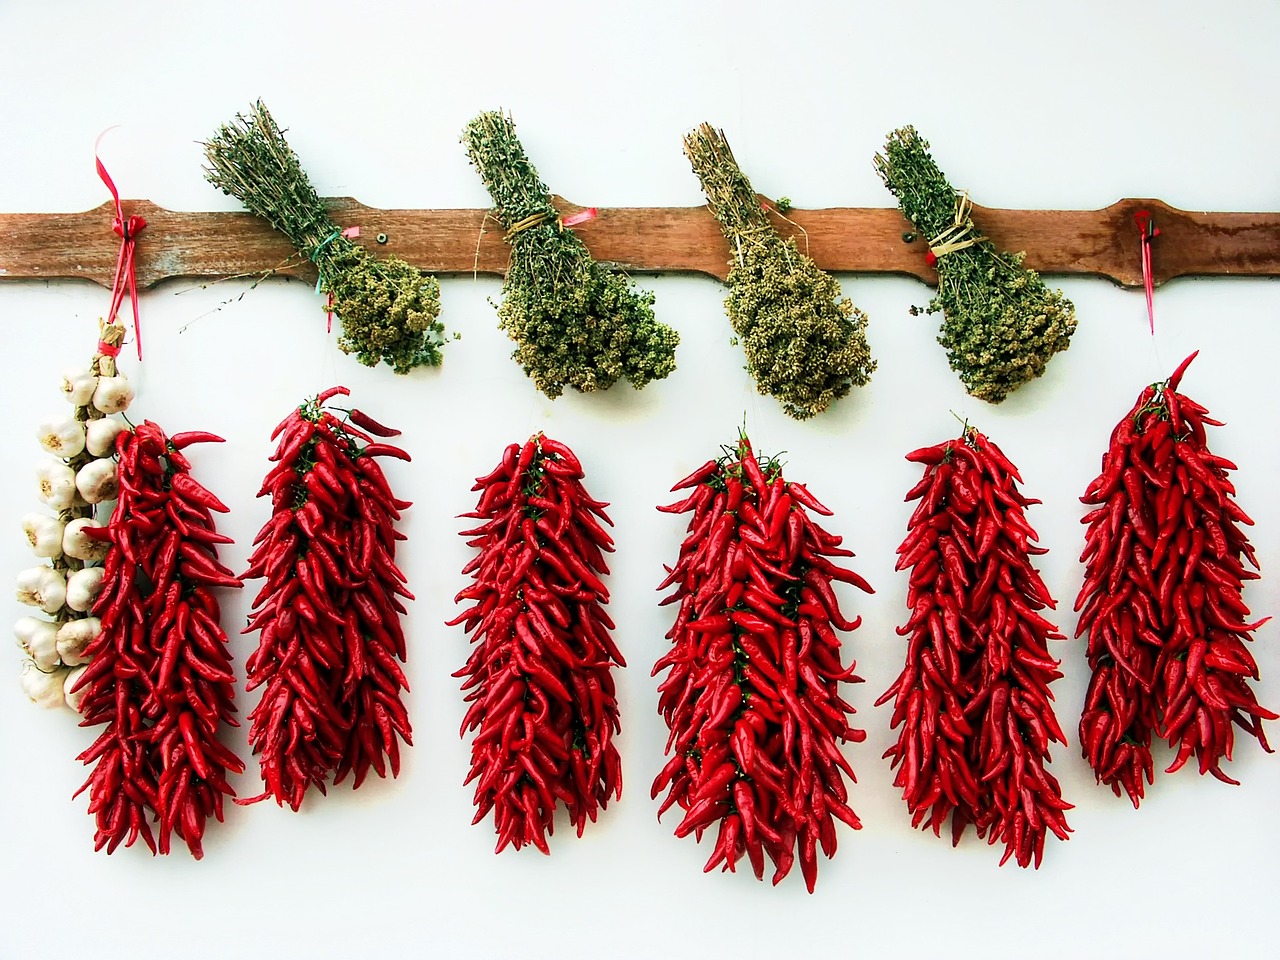
Hanging Herbs
Slow and natural drying methods produce the highest quality herbs. Hanging herbs is a time-tested process of preservation. This method works best with herbs that have long stems. Go ahead and remove any leaves near the bottoms of the stems, since they will be crushed when you bunch them together and hang them anyways. Grab a small bundle of herbs and make sure that you can arrange them in a way that each one can have the same amount of airflow around them. You should end up with many small, loose, bundles. Tie them together—you can use rubber bands, twist ties, or simple twine—and attach them to string that allows for you to hang the batch upside down. If you are hang drying seeds or flowers, you can put them into a small paper bag, poke holes in the sides for airflow, and tie the bag to a string to hang.
An ideal location for hanging herbs to is cool, dark, and dry. UV rays damage and release the oils that you are trying to preserve; they also cause discoloration and generally lower the quality of the preserved herbs. The area must be dry so that dew does not form, since that (and any other present moisture) will lead to the herbs molding.
Proper Storage
When the herbs are brittle and crumble easily, they have been completely dried and are ready to be stored. Separate the leaves from the stems to collect all the herbs, and store them in rigid containers with tight lids. Glass or ceramic containers with airtight seals are the best. Keep the containers somewhere out of the sunlight. Do not crush the herbs until you are ready to use them so that the flavors and aromas will be preserved. Label and date each of your containers as soon as you put them away. Use the herbs within a year of harvesting.